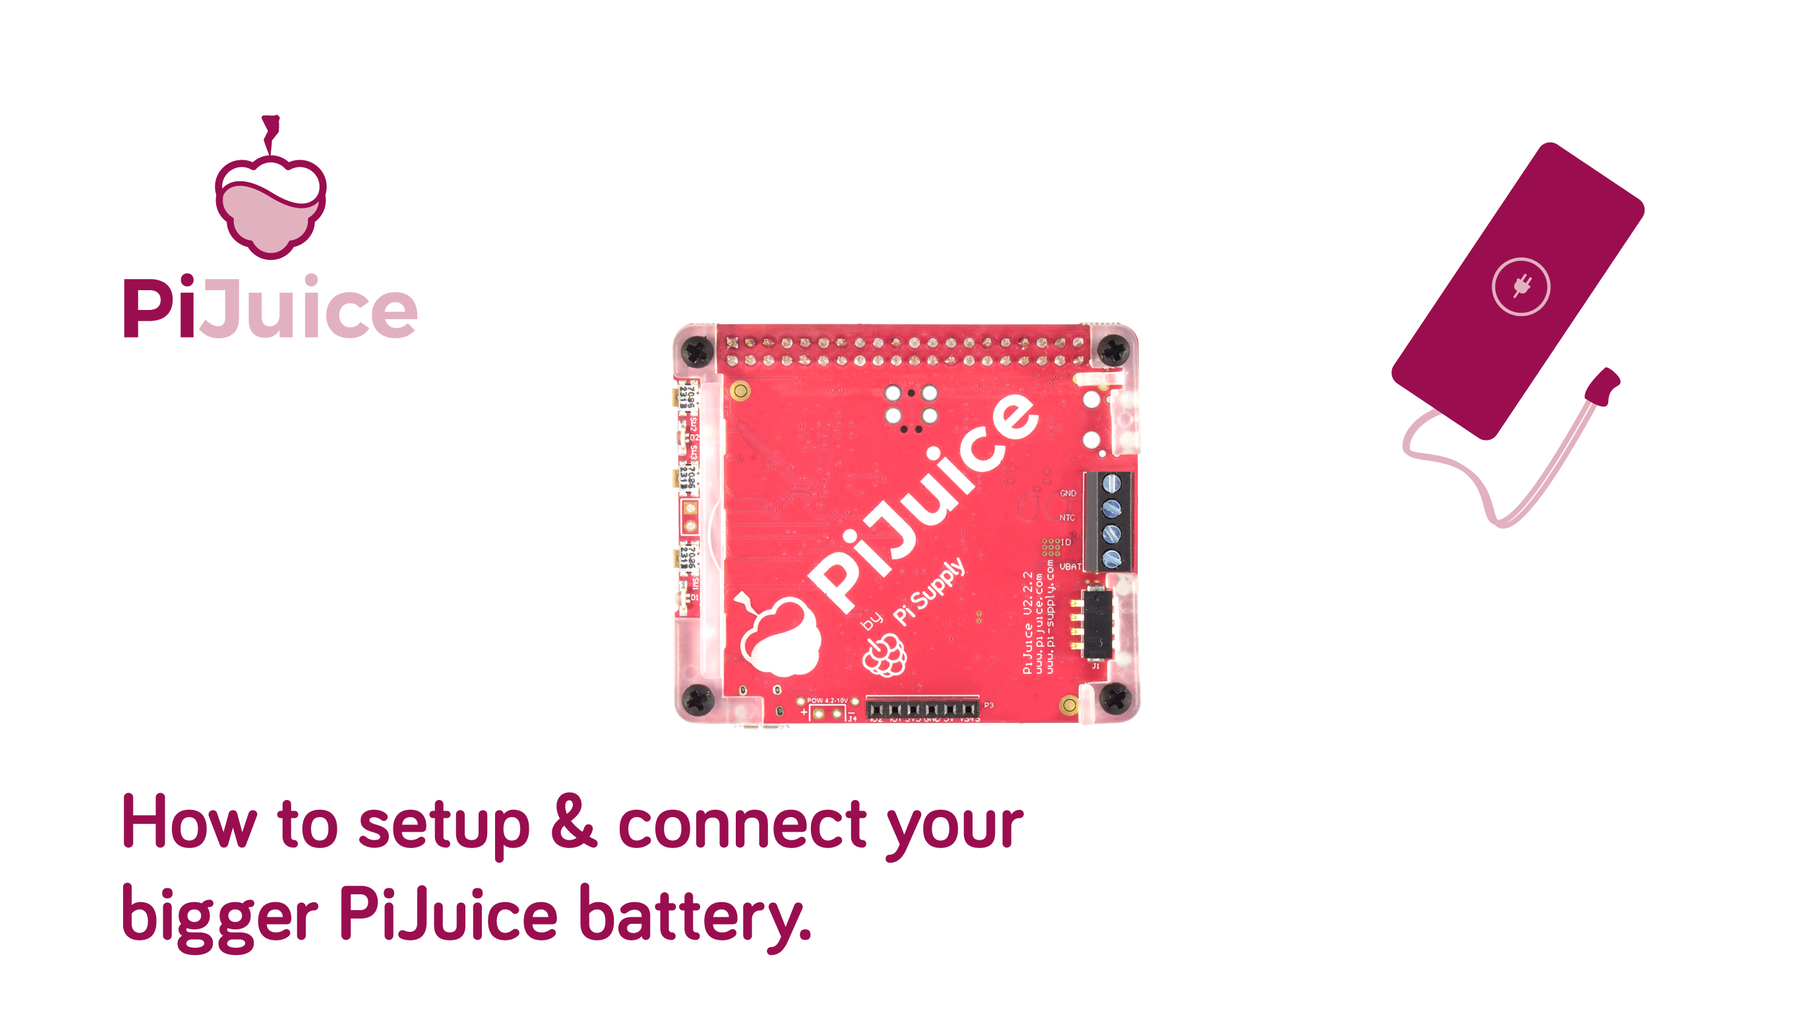
How to Setup & Connect your PiJuice battery
We now stock a number of PiJuice batteries with various capacity to suit all of your PiJuice power needs. All the batteries in our store are Lithium Polymer and come with a 3-pin JST connector and a charging protection circuit built-in.
Note: Whilst every effort has been made to ensure the safety of these batteries it is important that you do not abuse them by bending, crushing, piercing or shorting. Any of these actions may cause serious harm and possible fire risk.
Available PiJuice batteries
The list below is fully comprehensive list of Lithium Polymer batteries that are compatible with the PiJuice:
- 12000mAh – PIS-1129
- 5000mAh – PIS-1131
- 1200mAh – PIS-1135
- 1200mAh – PIS-1189 (Pi Zero)
- 1000mAh – PIS-1190 (Pi Zero)
- 600mAh – PIS-1191
- 500mAh – PIS-1218

Connecting your battery to the PiJuice HAT
Step 1 – In order to connect the battery to the PiJuice HAT you will need to cut the connector off the battery lead and strip the end fo the cable to expose the wires. First cut the connector off the end of the battery lead one by one:

Step 2 – Carefully cut off approximately 10mm of the outer plastic to expose the bare wires on each wire. Be careful not to cut through the wire. Once the wires are exposed, twist the strands together.

Note: Make sure that when the wires are exposed that they do not touch otherwise this could short the battery. If possible stick a small amount of tape on the red wire.
Step 3 – Make sure your PiJuice is shutdown and carefully remove the battery by flipping up the side which is labelled “Battery removal here”.

Step 4 – Unscrew the battery terminals on the PiJuice and insert the wires into the following slots:
- GND – Black Wire
- NTC – Yellow Wire
- VBAT – Red Wire
Once inserted screw down until the wire is firmly in place. Tug on the wire with a little pressure to make sure.

Configuring your battery profile
If you haven’t done so already you will need to install the PiJuice software. You can do this by entering the following commands in the terminal window:
PiJuice GUI
sudo apt-get install pijuice-gui
PiJuice CLI
sudo apt-get install pijuice-base
Step 1 – Open up the PiJuice configuration menu and head over to the “Battery” configuration menu.

Step 2 – Click on the dropdown box on the left hand side and select your battery profile for your installed battery:

Step 3 – Click on “Apply” in the bottom right hand side to save the changes and load the battery profile settings.
Note: You may need to expand the window to see the Apply button, simply drag the corner out.

